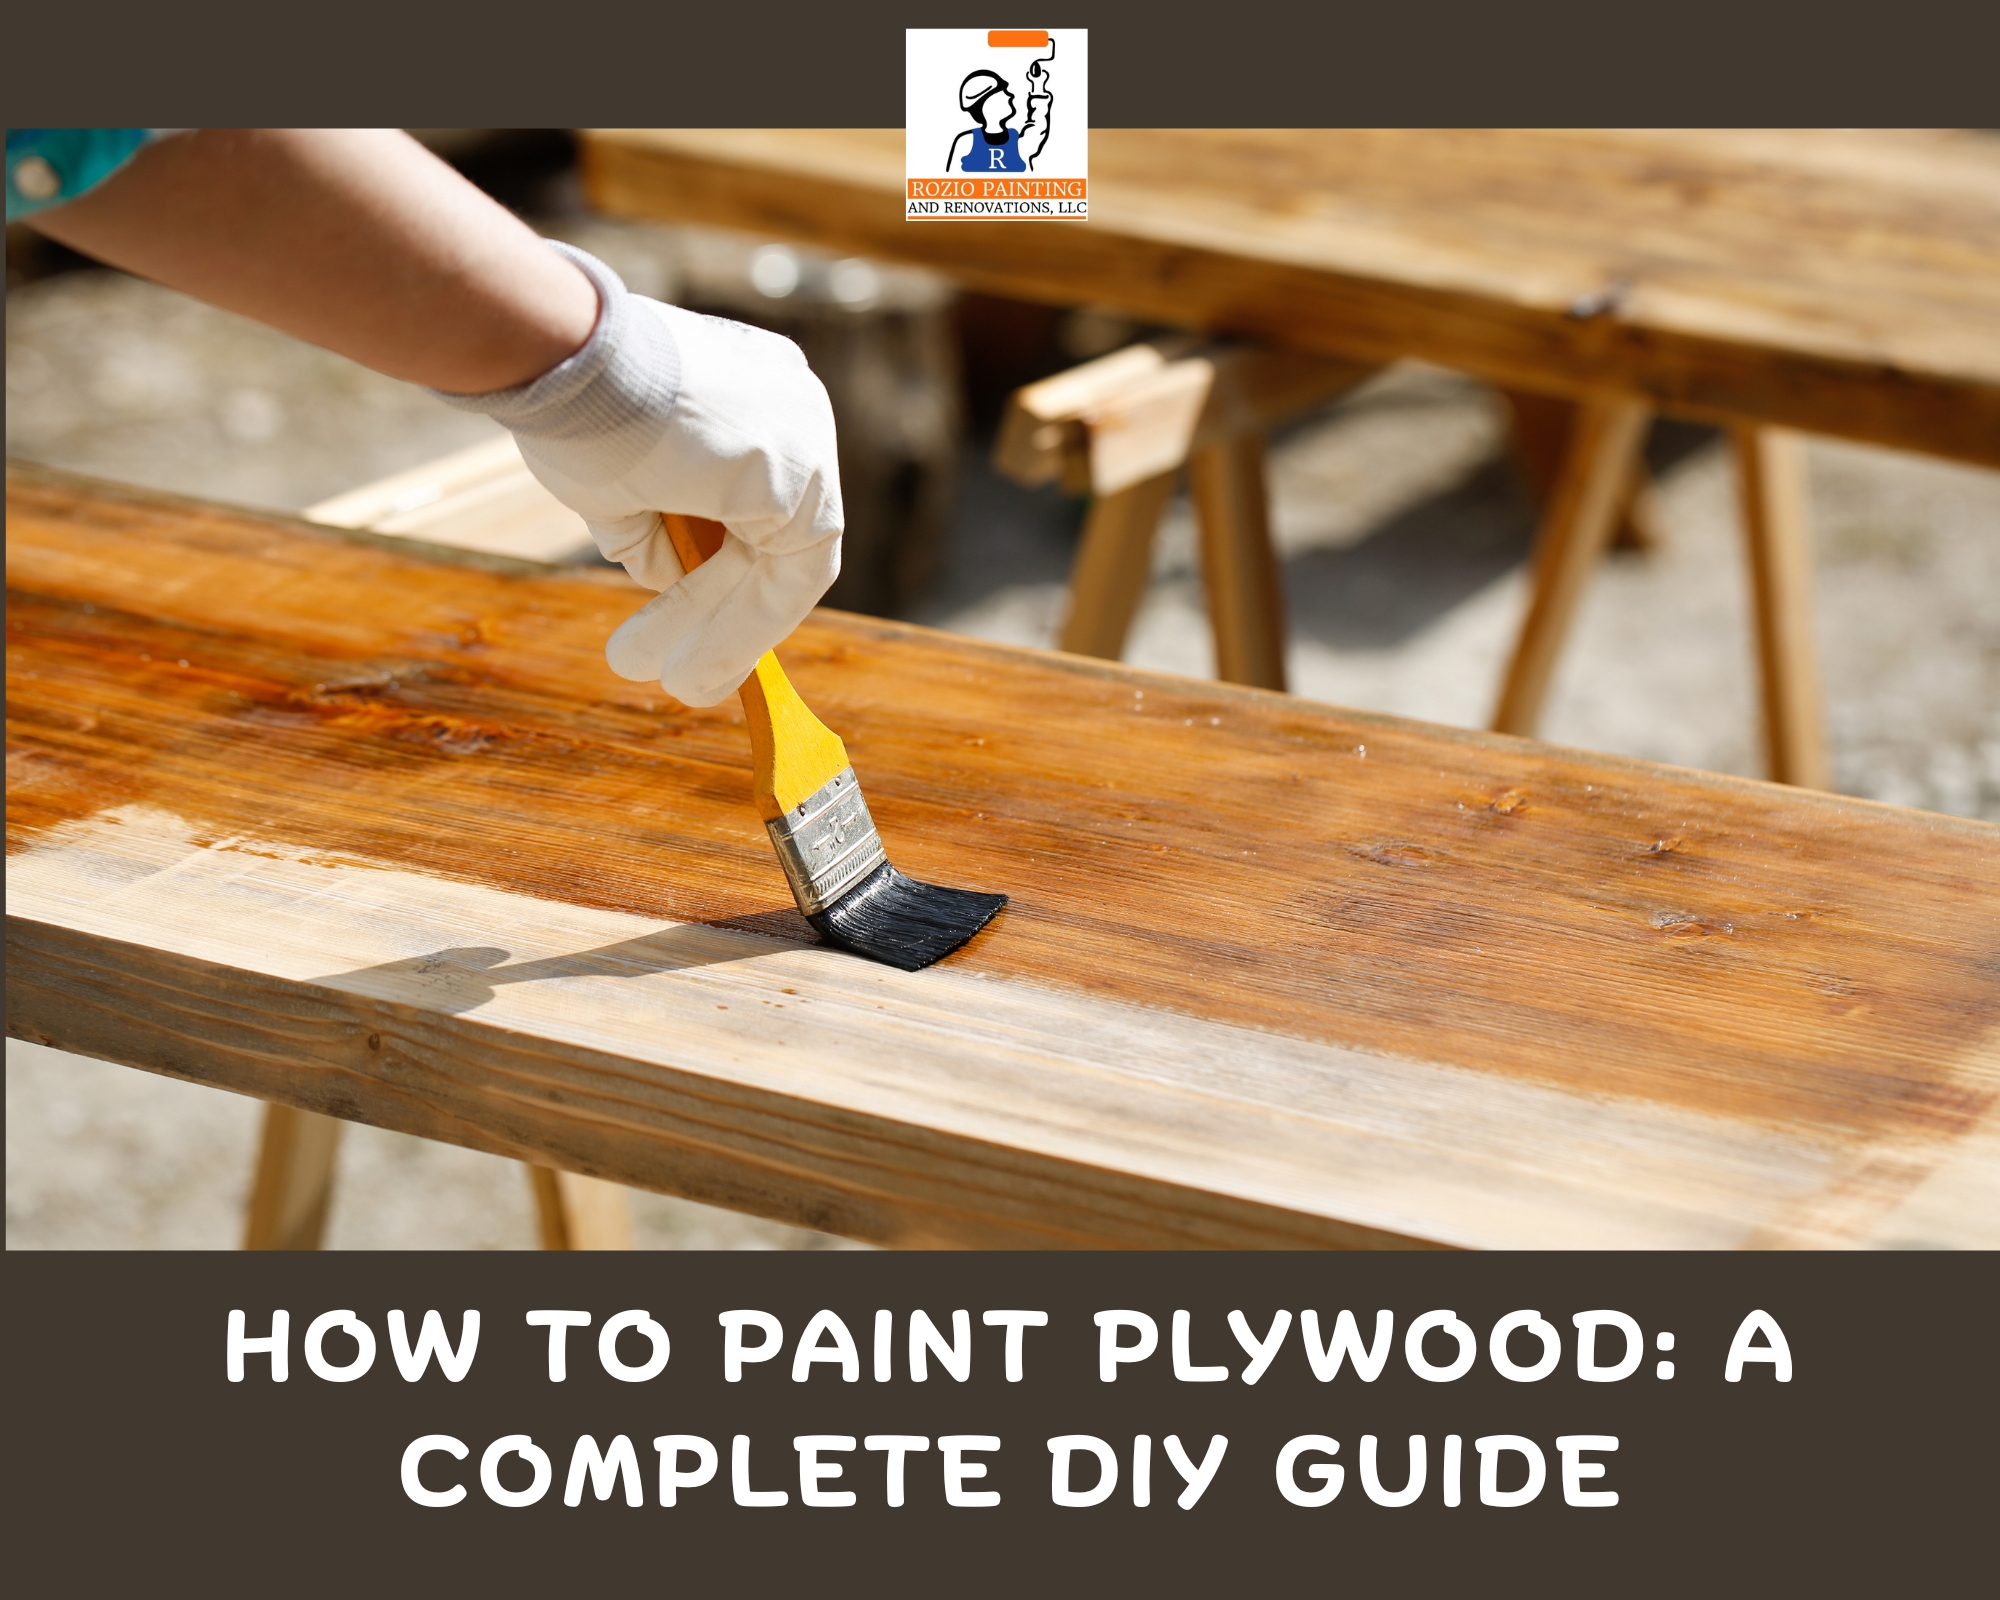
Plywood is a budget-friendly material that can be transformed into elegant furniture and decor through the appropriate painting techniques. Applying paint to plywood can enhance its visual appeal, offer moisture resistance, and help it blend into your interior design. To achieve a polished, professional appearance, it is essential to follow proper preparation, priming, and painting procedures. Whether you're a DIY pro or a beginner, this guide outlines the necessary steps to ensure optimal results and create personalized items for your home. Do you want your plywood painting done to a high standard? Contact our interior painting contractors in Avon, CT.
GATHERING YOUR PLYWOOD PAINTING SUPPLIES
To effectively paint plywood, begin by collecting essential materials: sandpaper (80, 120, and 220 grit), a sander, tack cloths, and a vacuum for dust removal. Select a high-quality primer, whether oil-, water-, or shellac-based primer, to seal the surface and enhance paint adhesion.
Choose your paint type according to the project requirements: latex, oil-based enamel, or spray paint. Prepare the necessary tools, such as brushes, rollers, painter’s tape, and scissors. For safety, it is crucial to always wear protective eyewear and a respirator when handling primer and paint.
PREPARING THE PLYWOOD SURFACE
Thoroughly clean the plywood using a vacuum equipped with a brush attachment to eliminate dust and debris. Address any imperfections by applying wood filler, then sand the surface using 80–120 grit sandpaper, followed by 150–220 grit, ensuring to move along the grain. Conclude the process by wiping the surface with a tack cloth or a damp cloth to enhance paint adhesion.
PRIMING FOR SUCCESS
Priming plywood is crucial, as it seals the surface, inhibits tannin stains, and establishes a smooth foundation for improved paint adhesion. Choose a primer that is appropriate for your project: oil-based for robust sealing, water-based for convenient cleanup, or shellac-based for efficient stain blocking. Apply it uniformly using a brush, roller, or sprayer, permit it to dry completely, and lightly sand between coats to achieve the smoothest finish.
APPLY YOUR PAINT
After the primer has dried, you may commence painting. Latex or acrylic paints are suitable for indoor projects and provide durability. It is advisable to apply two to three thin layers, utilizing a roller for expansive flat surfaces and a brush for edges and corners. Allow each layer to dry thoroughly before applying the subsequent one. To achieve a smoother finish, lightly sand between layers and employ high-quality brushes and rollers.
SEALING (Optional, But Highly Recommended)
If the surface is subject to frequent use, it is advisable to apply a polyurethane or water-based sealant. This will protect it against damage and stains, while also facilitating easier cleaning.
TIPS BY APPLICATION
Before painting, detach the plywood door from its hinges. Ensure it is cleaned thoroughly to remove any dirt and dust, then lightly sand the surface to prepare it for a satin or semi-gloss finish. For cabinets, begin by removing all hardware and doors, cleaning off any grease or residue, and applying a stain-blocking primer. Subsequently, apply a smooth layer of cabinet paint or semi-gloss, gently sanding between each application. When addressing a plywood ceiling, safeguard the surrounding area with drop cloths, prime it with a stain-blocking primer, and use a roller attached to an extension pole to apply paint. Opt for flat or eggshell paint to minimize glare, and monitor for drips as it dries. For plywood flooring, initiate with a robust industrial-grade primer, followed by three coats of floor or porch paint. Once completely cured, apply a polyurethane coating to enhance durability and longevity.